Stylish Back Hand Mehndi Designs Simple And Beautiful
Stylish Back Hand Mehndi Designs Simple And Beautiful have been an integral part of traditional celebrations and rituals, adding an exquisite touch to the beauty of hands. Let’s delve into the captivating world of backhand Mehndi designs and unravel the beauty and elegance they bring.
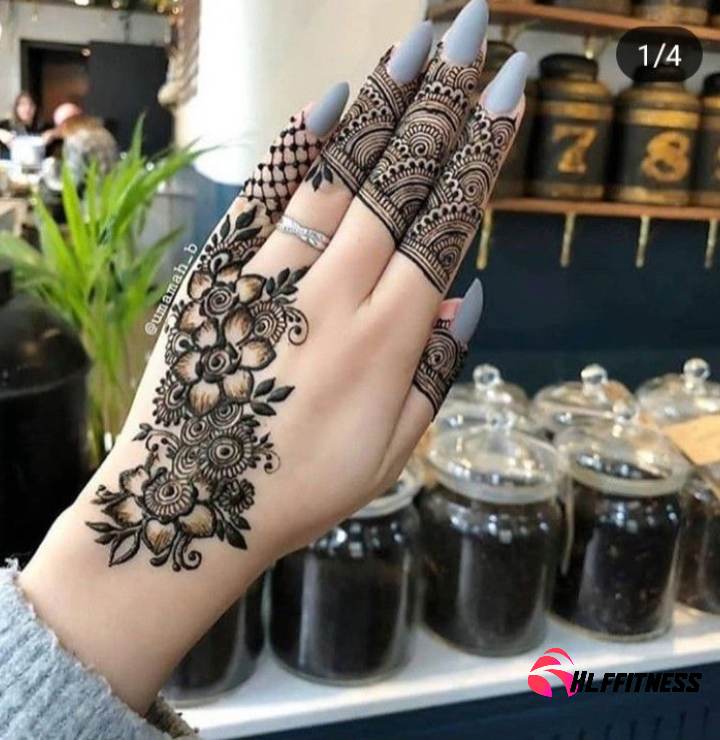
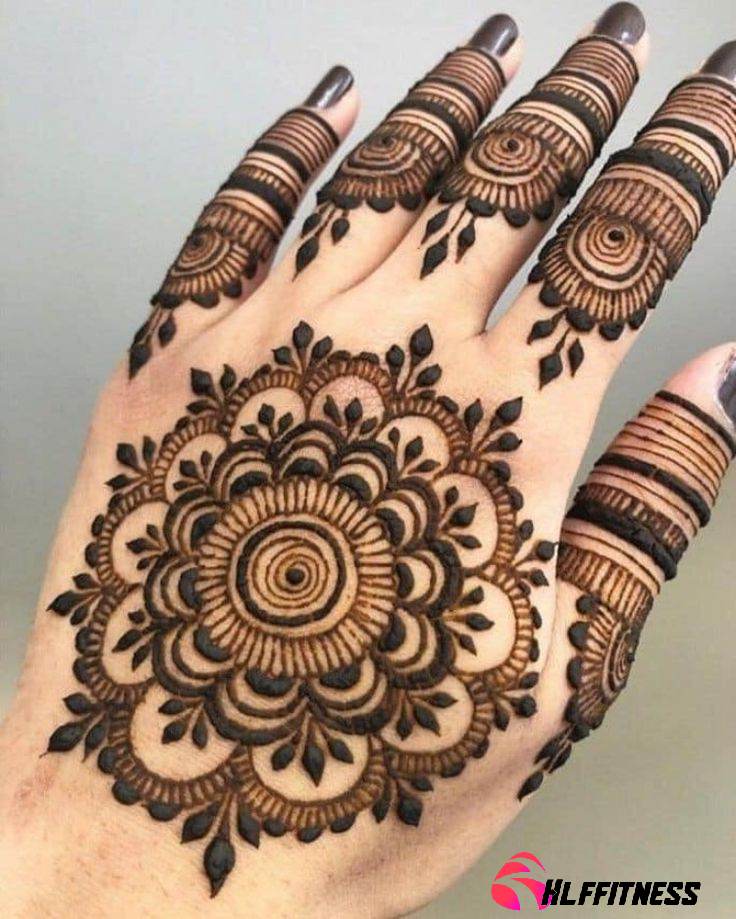
Back Hand
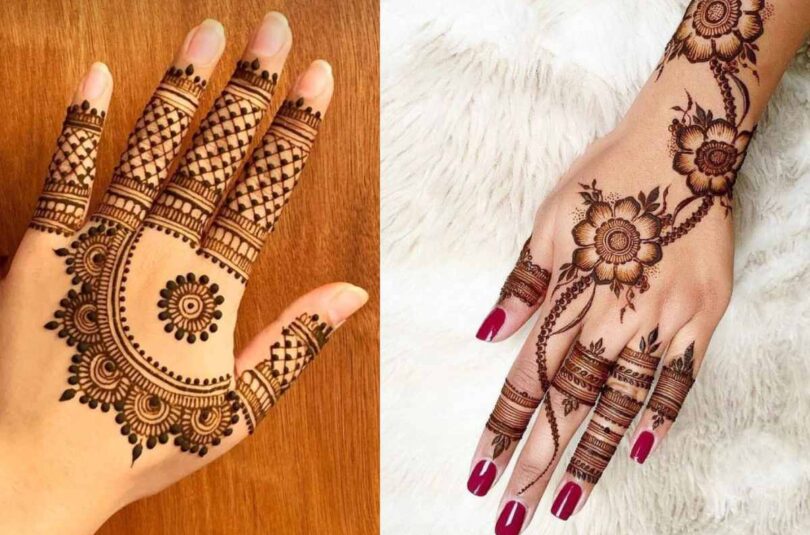
Back hand Mehndi designs offer a plethora of choices to choose from, catering to diverse preferences and tastes. There’s something for everyone, from traditional motifs enthused by nature to contemporary abstract patterns. The choices are endless, whether you prefer classic Arabic designs or modern fusion patterns.
Guest Mehendi Design
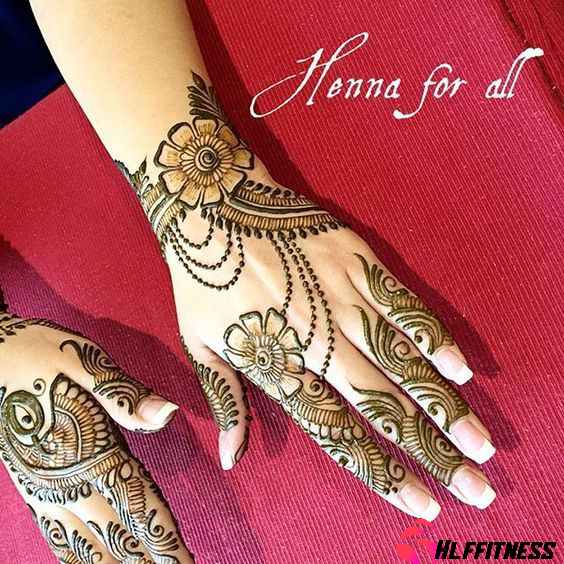
 Bridal Mehendi Designs Hands
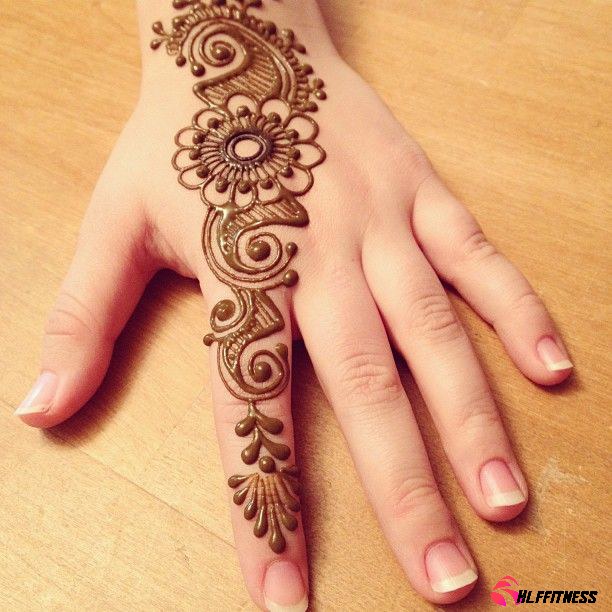
 Simple Arabic Mehndi Designs
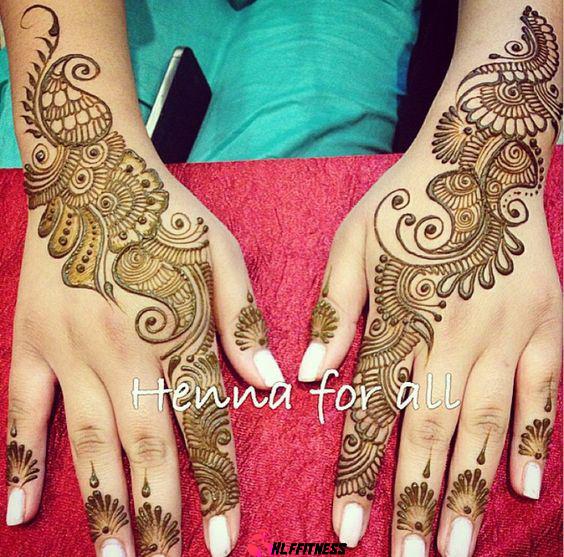
 Eid Mehndi Designs
 Easy Mehendi Designs
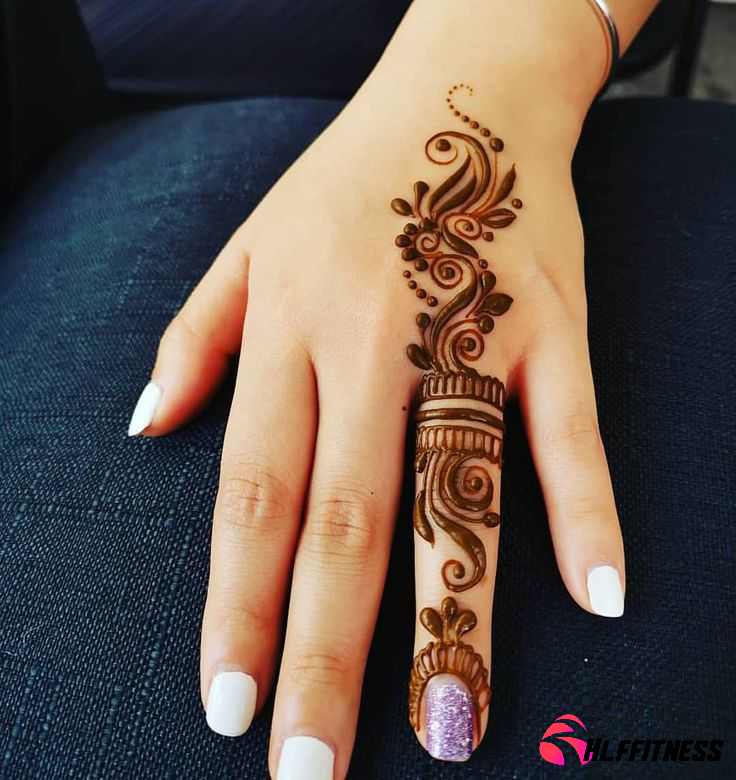
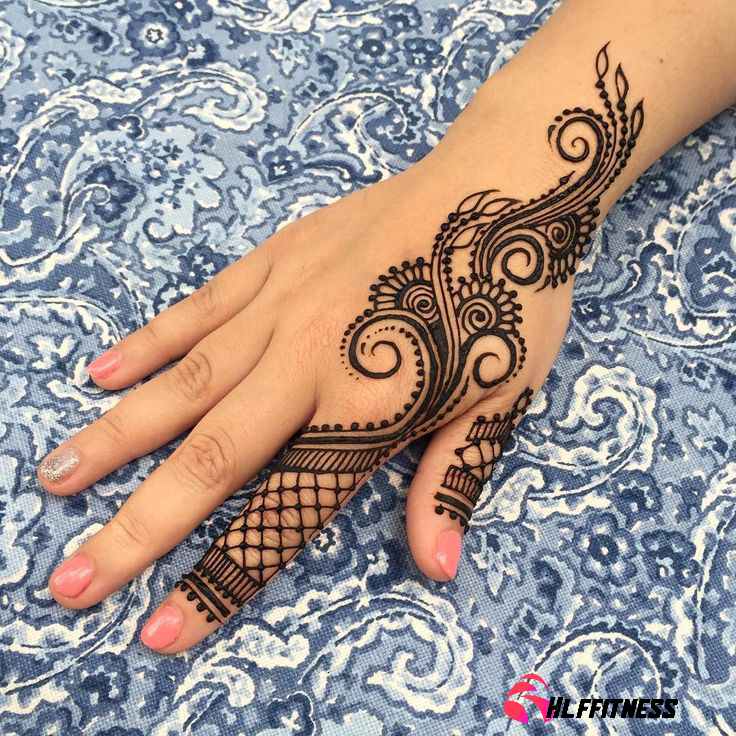
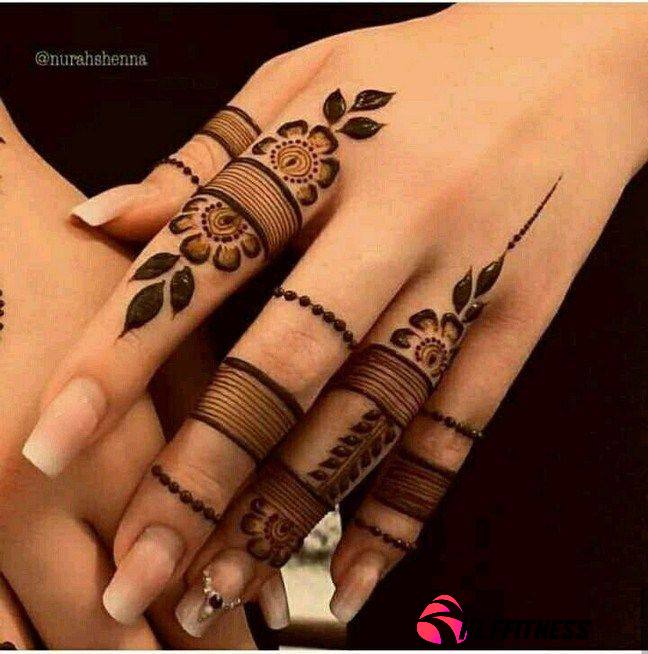
 Finger Henna Designs
 Small Mehendi Designs Modern
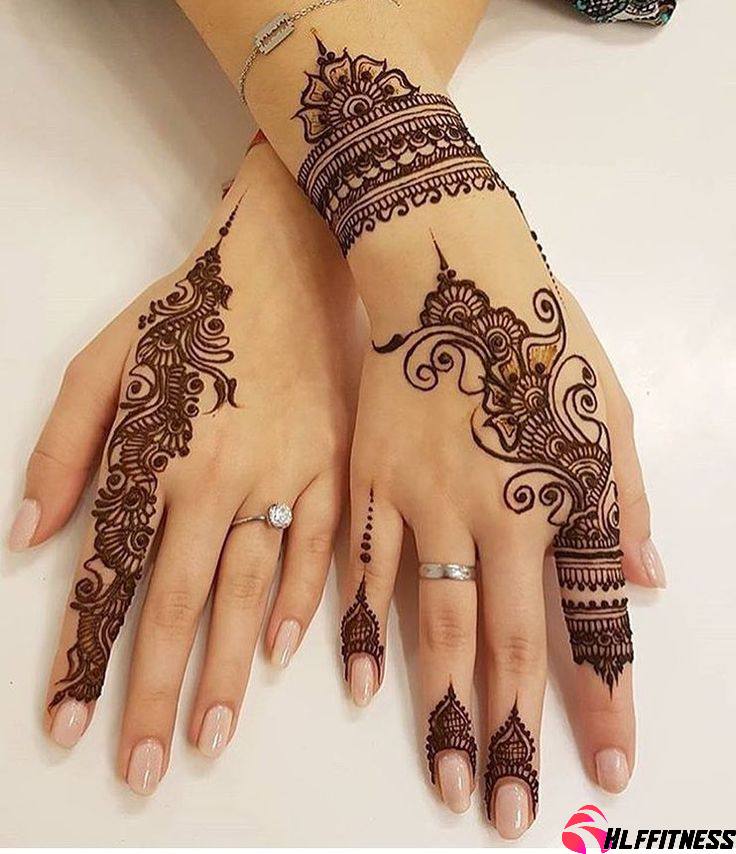
 Henna Tattoo Designs Hand
 Wrist Henna
All images Via Pinterest
How To Apply Mehndi On Back Hand?
Mehndi application is an old quality that adds social lavishness and magnificence to different festivals. Among the dissimilar material regions for Mehndi, the back hand stands apart for its perceivability and style. In this aide, we’ll examine the bit-by-bit course of applying mehndi on the backhand.
Before you start, accumulate the materials required:
- New henna mehndi
- Plastic cone or implement
- Tissue paper
- Lemon juice
- Sugar
- Cotton balls
Step 1: Clean and Prep
Begin by cleaning up totally. Guarantee your back hand is faultless and unconventional from oils or creams, as they can block mehndi holding.
Step 2: Make a Design
Create a beautiful design with our providing hand mehndi designs listed overhead. To create a unique design, you must practice if you want to make a mehndi design by using utensils you can.
Step 3: Fill the Utensil
If you use a plastic cone or utensil, fill it with a new henna mehndi. Assurance the consistency is flat for simple requests.
Step 4: Start Application
Begin from the middle and work outward. This keeps up with evenness. Twitch with a focal theme and work around it with a more shy design, making a long-lasting look.
Step 5: Focus on Subtleties
Mehndi is about mind-boggling subtleties. Focus on slightly familiar differences and concealing to improve the general design. Enjoy amnesties if necessary to keep up with accuracy.
Step 6: Drying Time
Let the mehndi ordinarily dry. It generally requires 2-3 hours. Abstain from twisting or collapsing your hand during this.
Step 7: Lemon-Sugar Sealant
Once the mehndi is dry, delicately cut off the profusion. Apply a combination of lemon squeeze and sugar on the design to improve the variety and color of the mehndi.
Step 8: Keep away from Water Contact
For the following 12-24 hours, keep absent from contact with water. This helps the mehndi dry totally.
Step 9: Last Contacts
After the optional time, tenderly strip off the dry mehndi. The diversity will keep obscuring throughout the next little while, arriving at its pinnacle wealth.
Conclusion
Put on mehndi on the back is a superb custom considering individual articulation and fancy. I hope this article will be helpful for you. I if Stylish Back Hand Mehndi Designs Simple And Beautiful to you, so please comment now on how this is helpful for you.